
How To Use A Gua Sha
How To Use A Gua Sha
Improve circulation, reduce puffiness, and promote lymphatic drainage with a Gua Sha. Here's our step-by-step guide on how to use one.
Follow These Steps:
Step 1: Cleanse your face
Before using the Gua Sha, make sure your face is clean and free of makeup by cleansing. Pair your cleanser with our Bamboo Terry Cleansing Mitt for an extra-thorough cleanse.
Step 2: Activate your lymph nodes
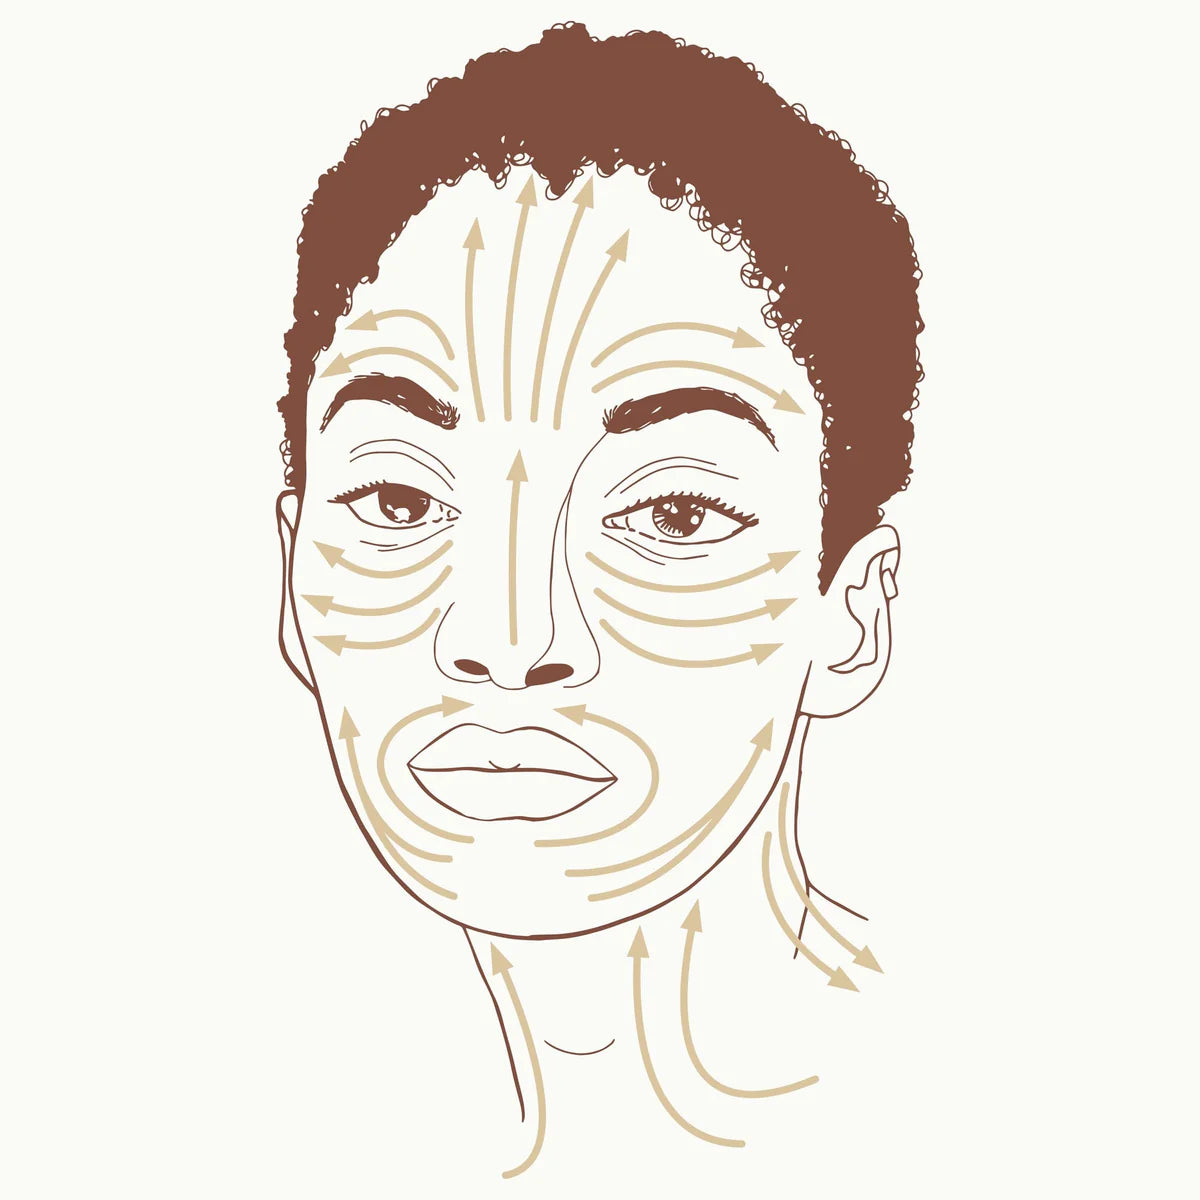
Activating your lymph nodes is an essential part of the gua sha routine to encourage lymphatic drainage and detoxification. Using your fingers, gently massage key lymphatic areas for 5-10 seconds:
- Behind and in front of your ears (where your jaw meets your neck)
- Above your clavicle (collarbones)
- Your armpits (optional for full-body stimulation)
- Press either side of the bridge of your nose
Step 3: Apply facial oil
Next, apply a few drops of our Antioxidant Facial Oil or your favourite serum to your skin. This will help the Gua Sha glide smoothly over your skin and prevent any friction or irritation.
Step 4: Hold the Gua Sha at the right angle
When using the gua sha tool, hold it at a 15–45 degree angle to your skin, depending on the area you're working on. This ensures that you're using the edge of the tool to apply light, even pressure, helping to stimulate circulation and promote lymphatic drainage. Avoid applying too much force, which could cause discomfort or irritation. Aim for smooth, fluid movements with gentle pressure.
Step 5: Start with the jawline and neck
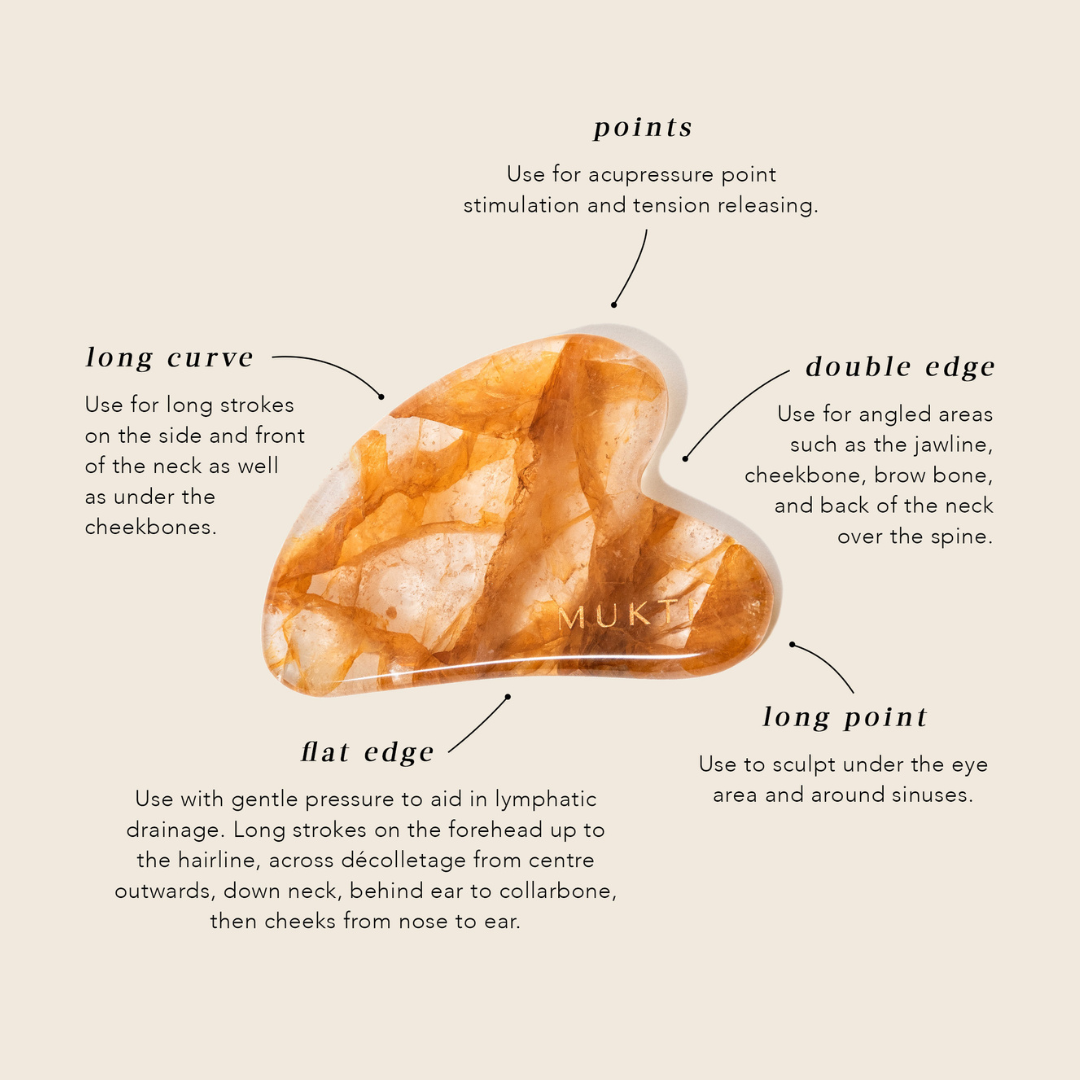
Begin by using the flat edge of the Gua Sha to gently scrape along your jawline and then down your neck. Repeat 10x.
Step 6: Cheek & smile lines
With the flat edge of the gua sha tool held at a 15-degree angle, gently glide from the corner of your mouth outwards, smoothing out your smile lines. Repeat 20 times on each side.
Follow up by gliding the gua sha along the full length of your cheek towards your ear, then down your neck to encourage lymphatic drainage. Repeat this full motion 10 times.
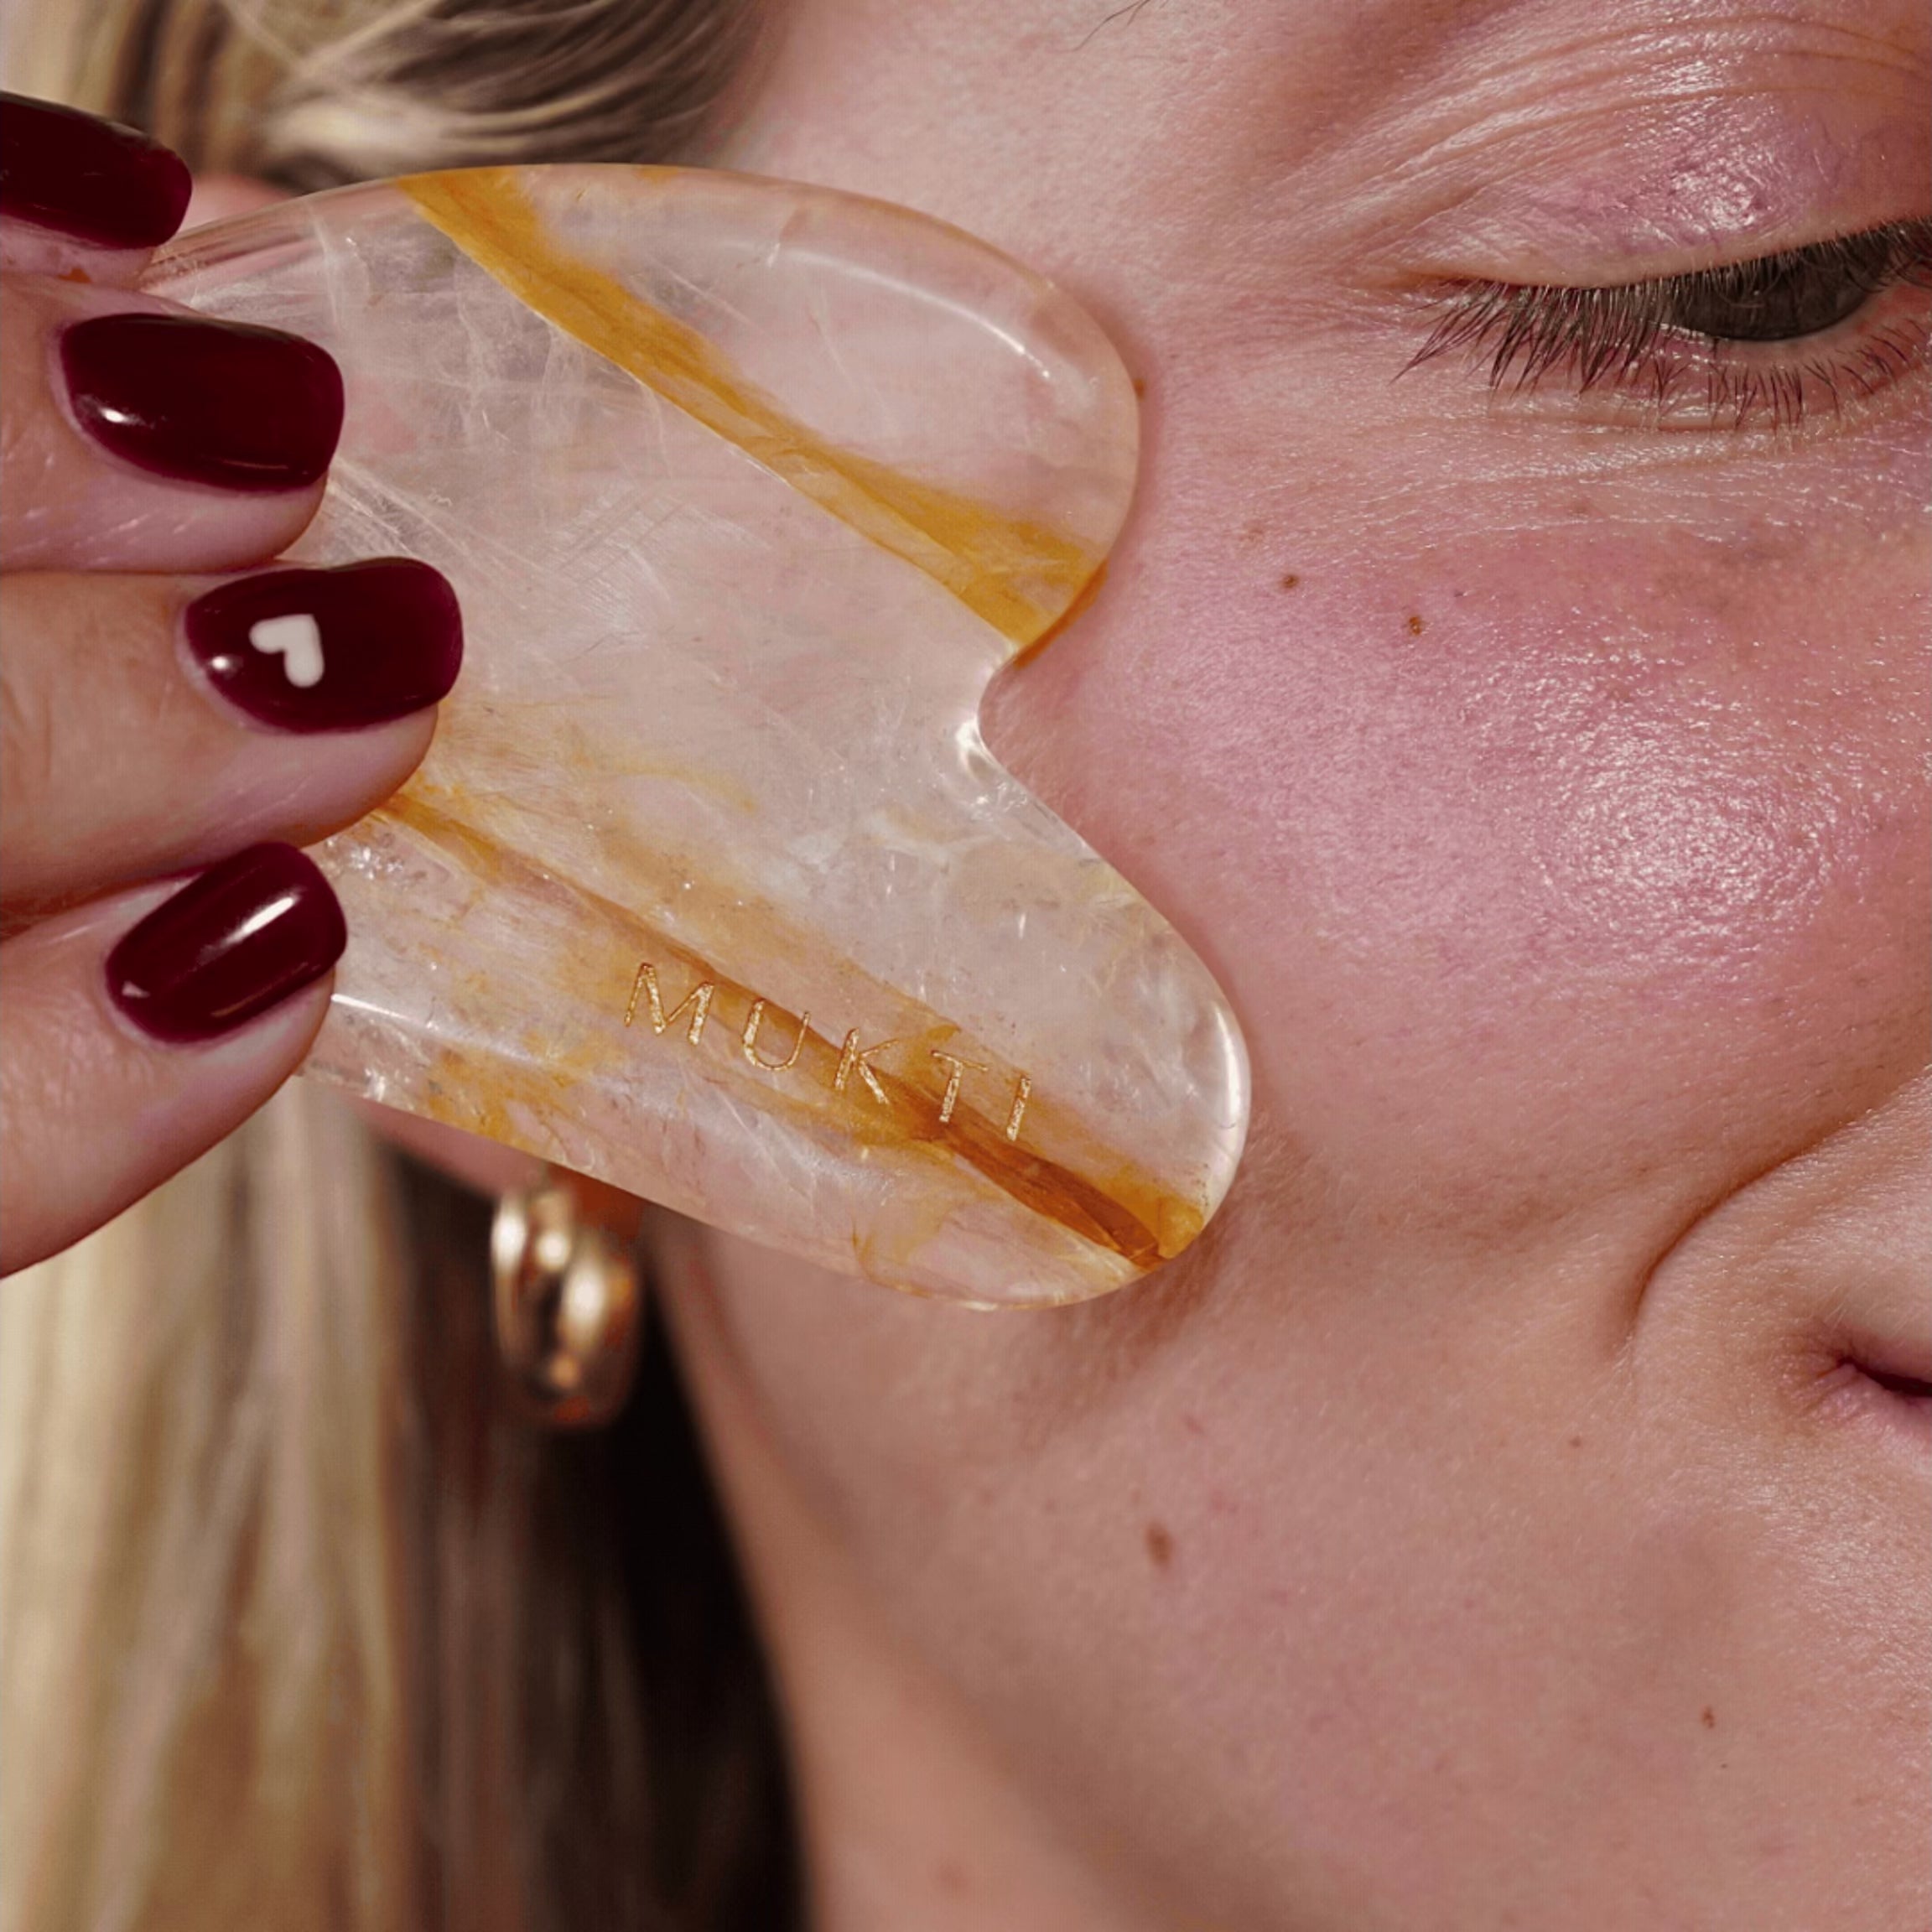
Step 7: Use the U edge to glide along cheekbone
Next, use the U-shaped edge of your gua sha tool at a 15-degree angle to glide along your cheekbone, moving from the center of your face outwards to your hairline. Repeat 10 times on each side to lift and contour the cheek area.
Step 8: Under the eyes
Use the flat edge of the gua sha to gently glide along the under-eye area, starting from the inner corner of your eye and moving outwards toward your temple. Use very light pressure as this area is delicate. Repeat 20 times on each side to reduce puffiness and brighten the eye area.
Step 9: Upper lid
Using the U end or the flat edge of your tool, gently glide along your upper lid, right under the brow bone. Repeat 10 times on each side.
Step 10: Brows
Glide along your brow area from the center of your brow to the outer edge, using the U edge of the gua sha tool at a 45-degree angle. This helps lift and shape the brows while relieving tension. Repeat 10 times on each side.
Step 11: Move on to the forehead
Use the long edge of the gua sha to gently glide across your forehead, starting from the center and moving outwards towards the hairline. Use light pressure and upward strokes to smooth out fine lines and relieve tension. Repeat 10 times.
Step 12: From forehead to neck
To finish, use the flat edge of the gua sha tool to gently massage your skin in a downward motion, starting from the middle of your forehead and moving past your temples, cheeks, and down to the base of your neck. This step helps guide lymphatic fluid downwards for optimal drainage. Repeat 10 times.
Watch our Video Tutorial
WATCH HERE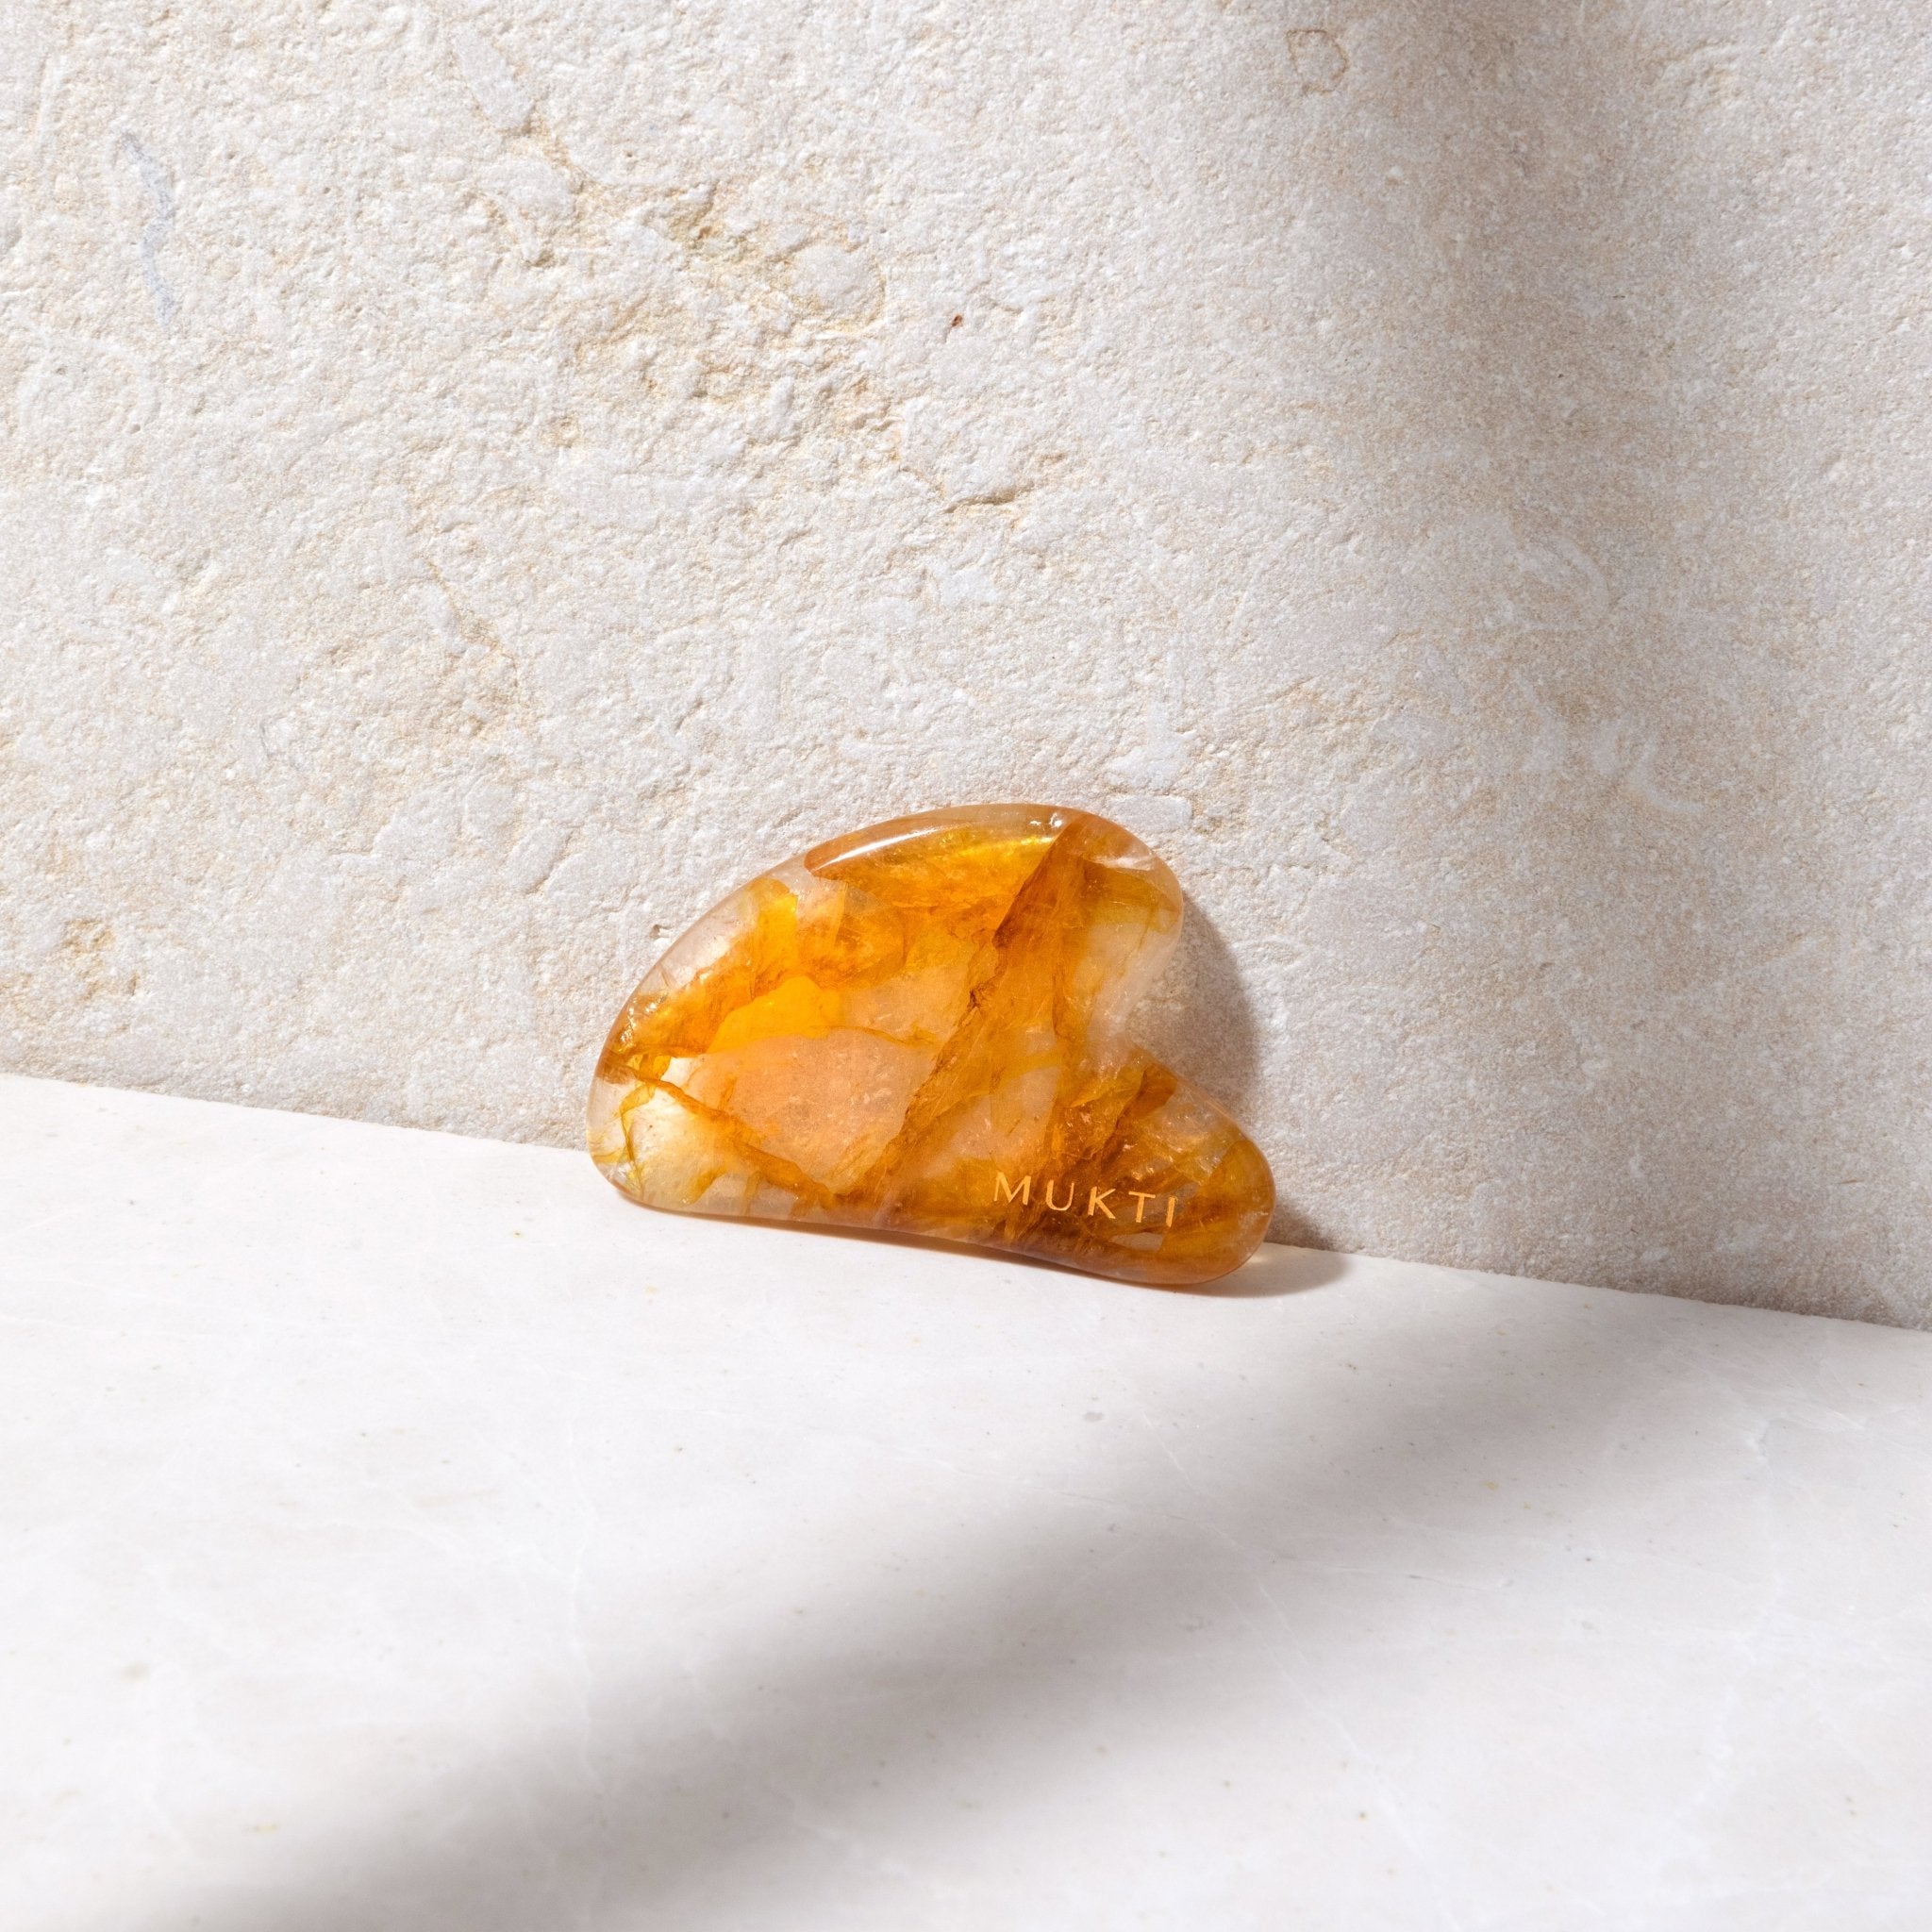
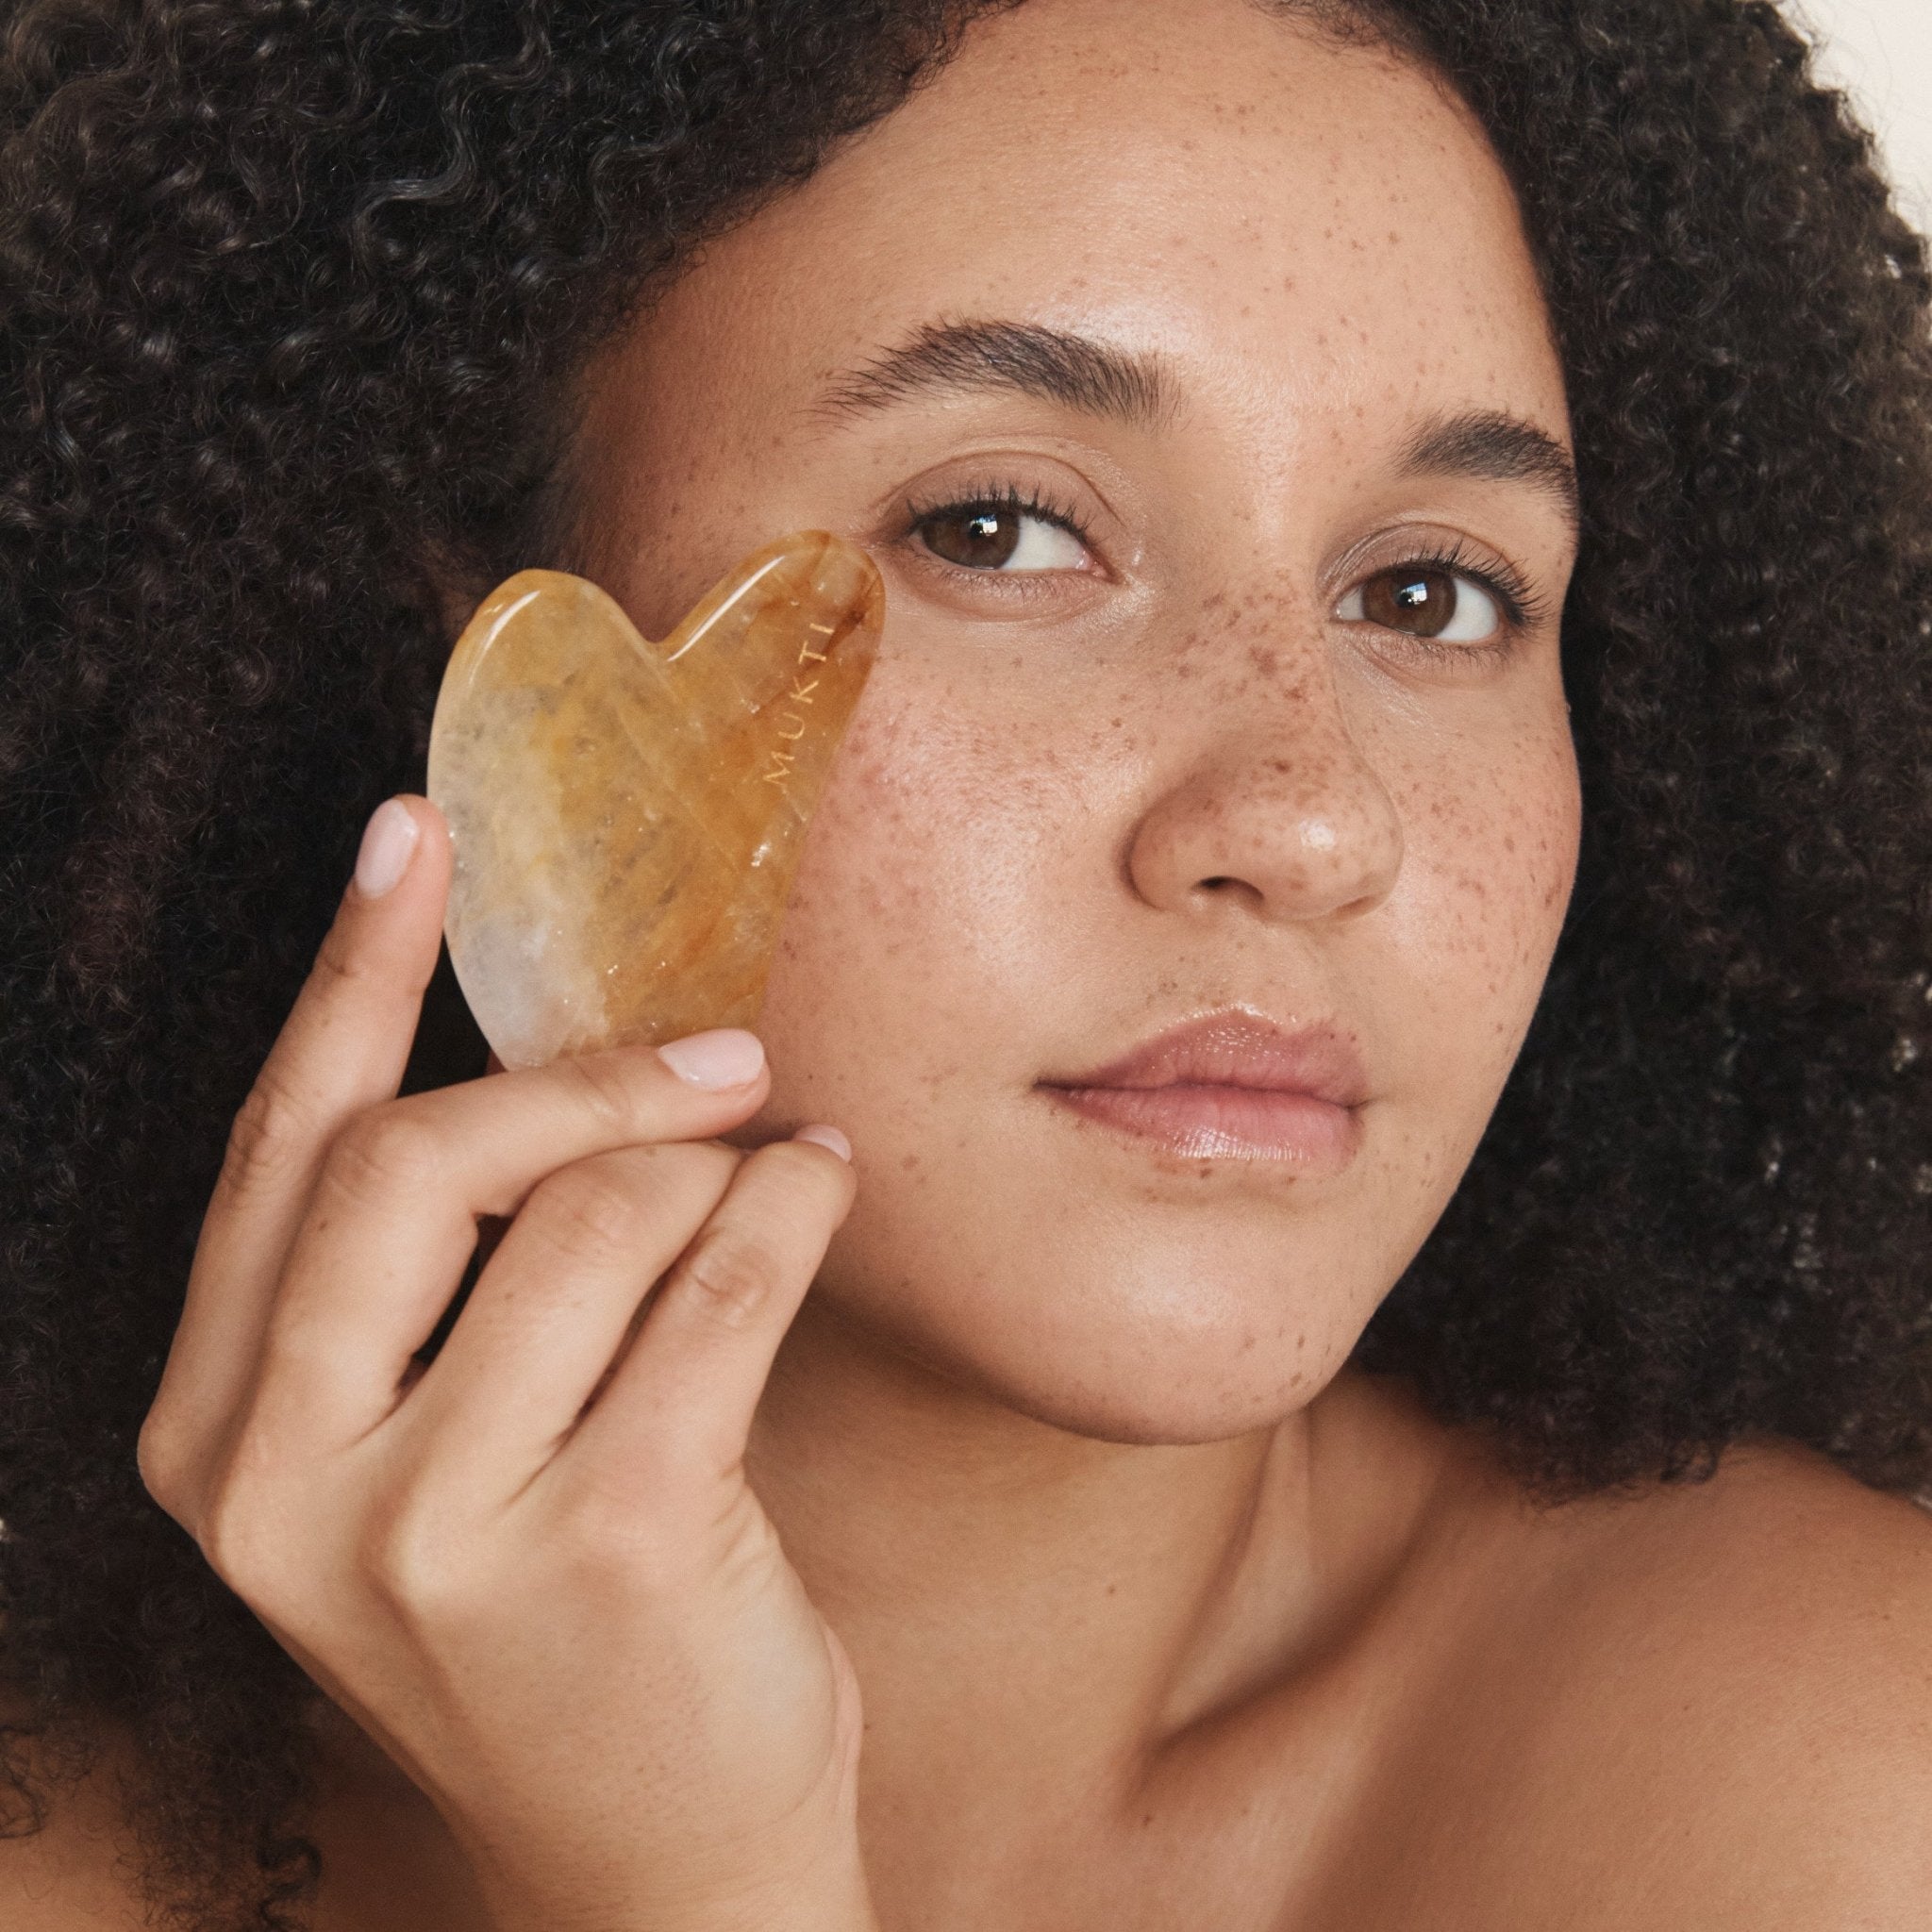
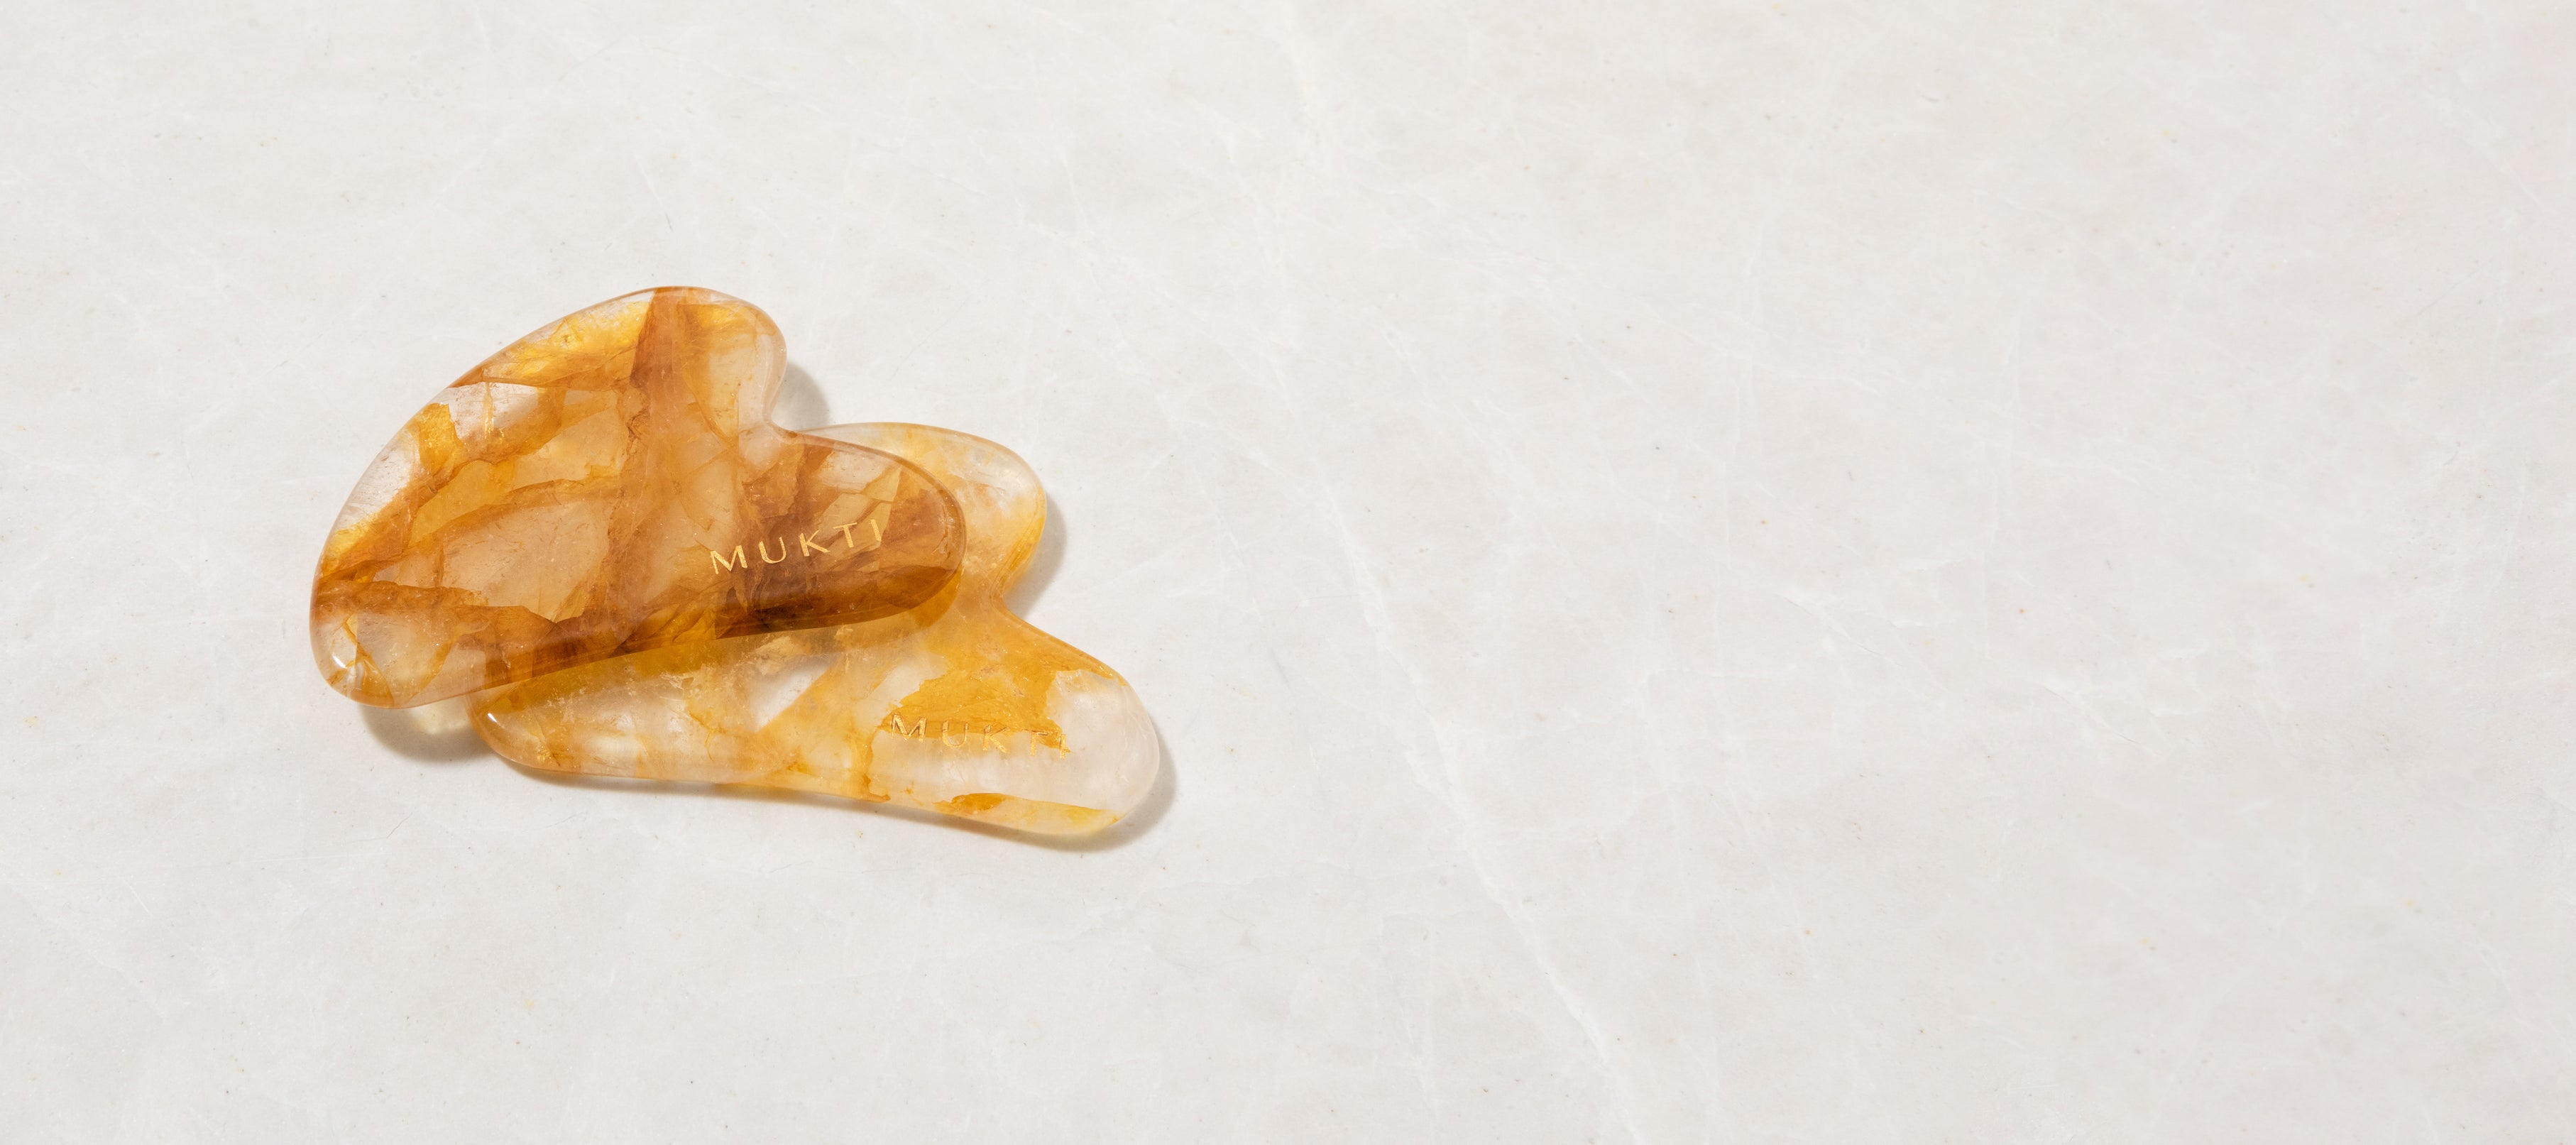
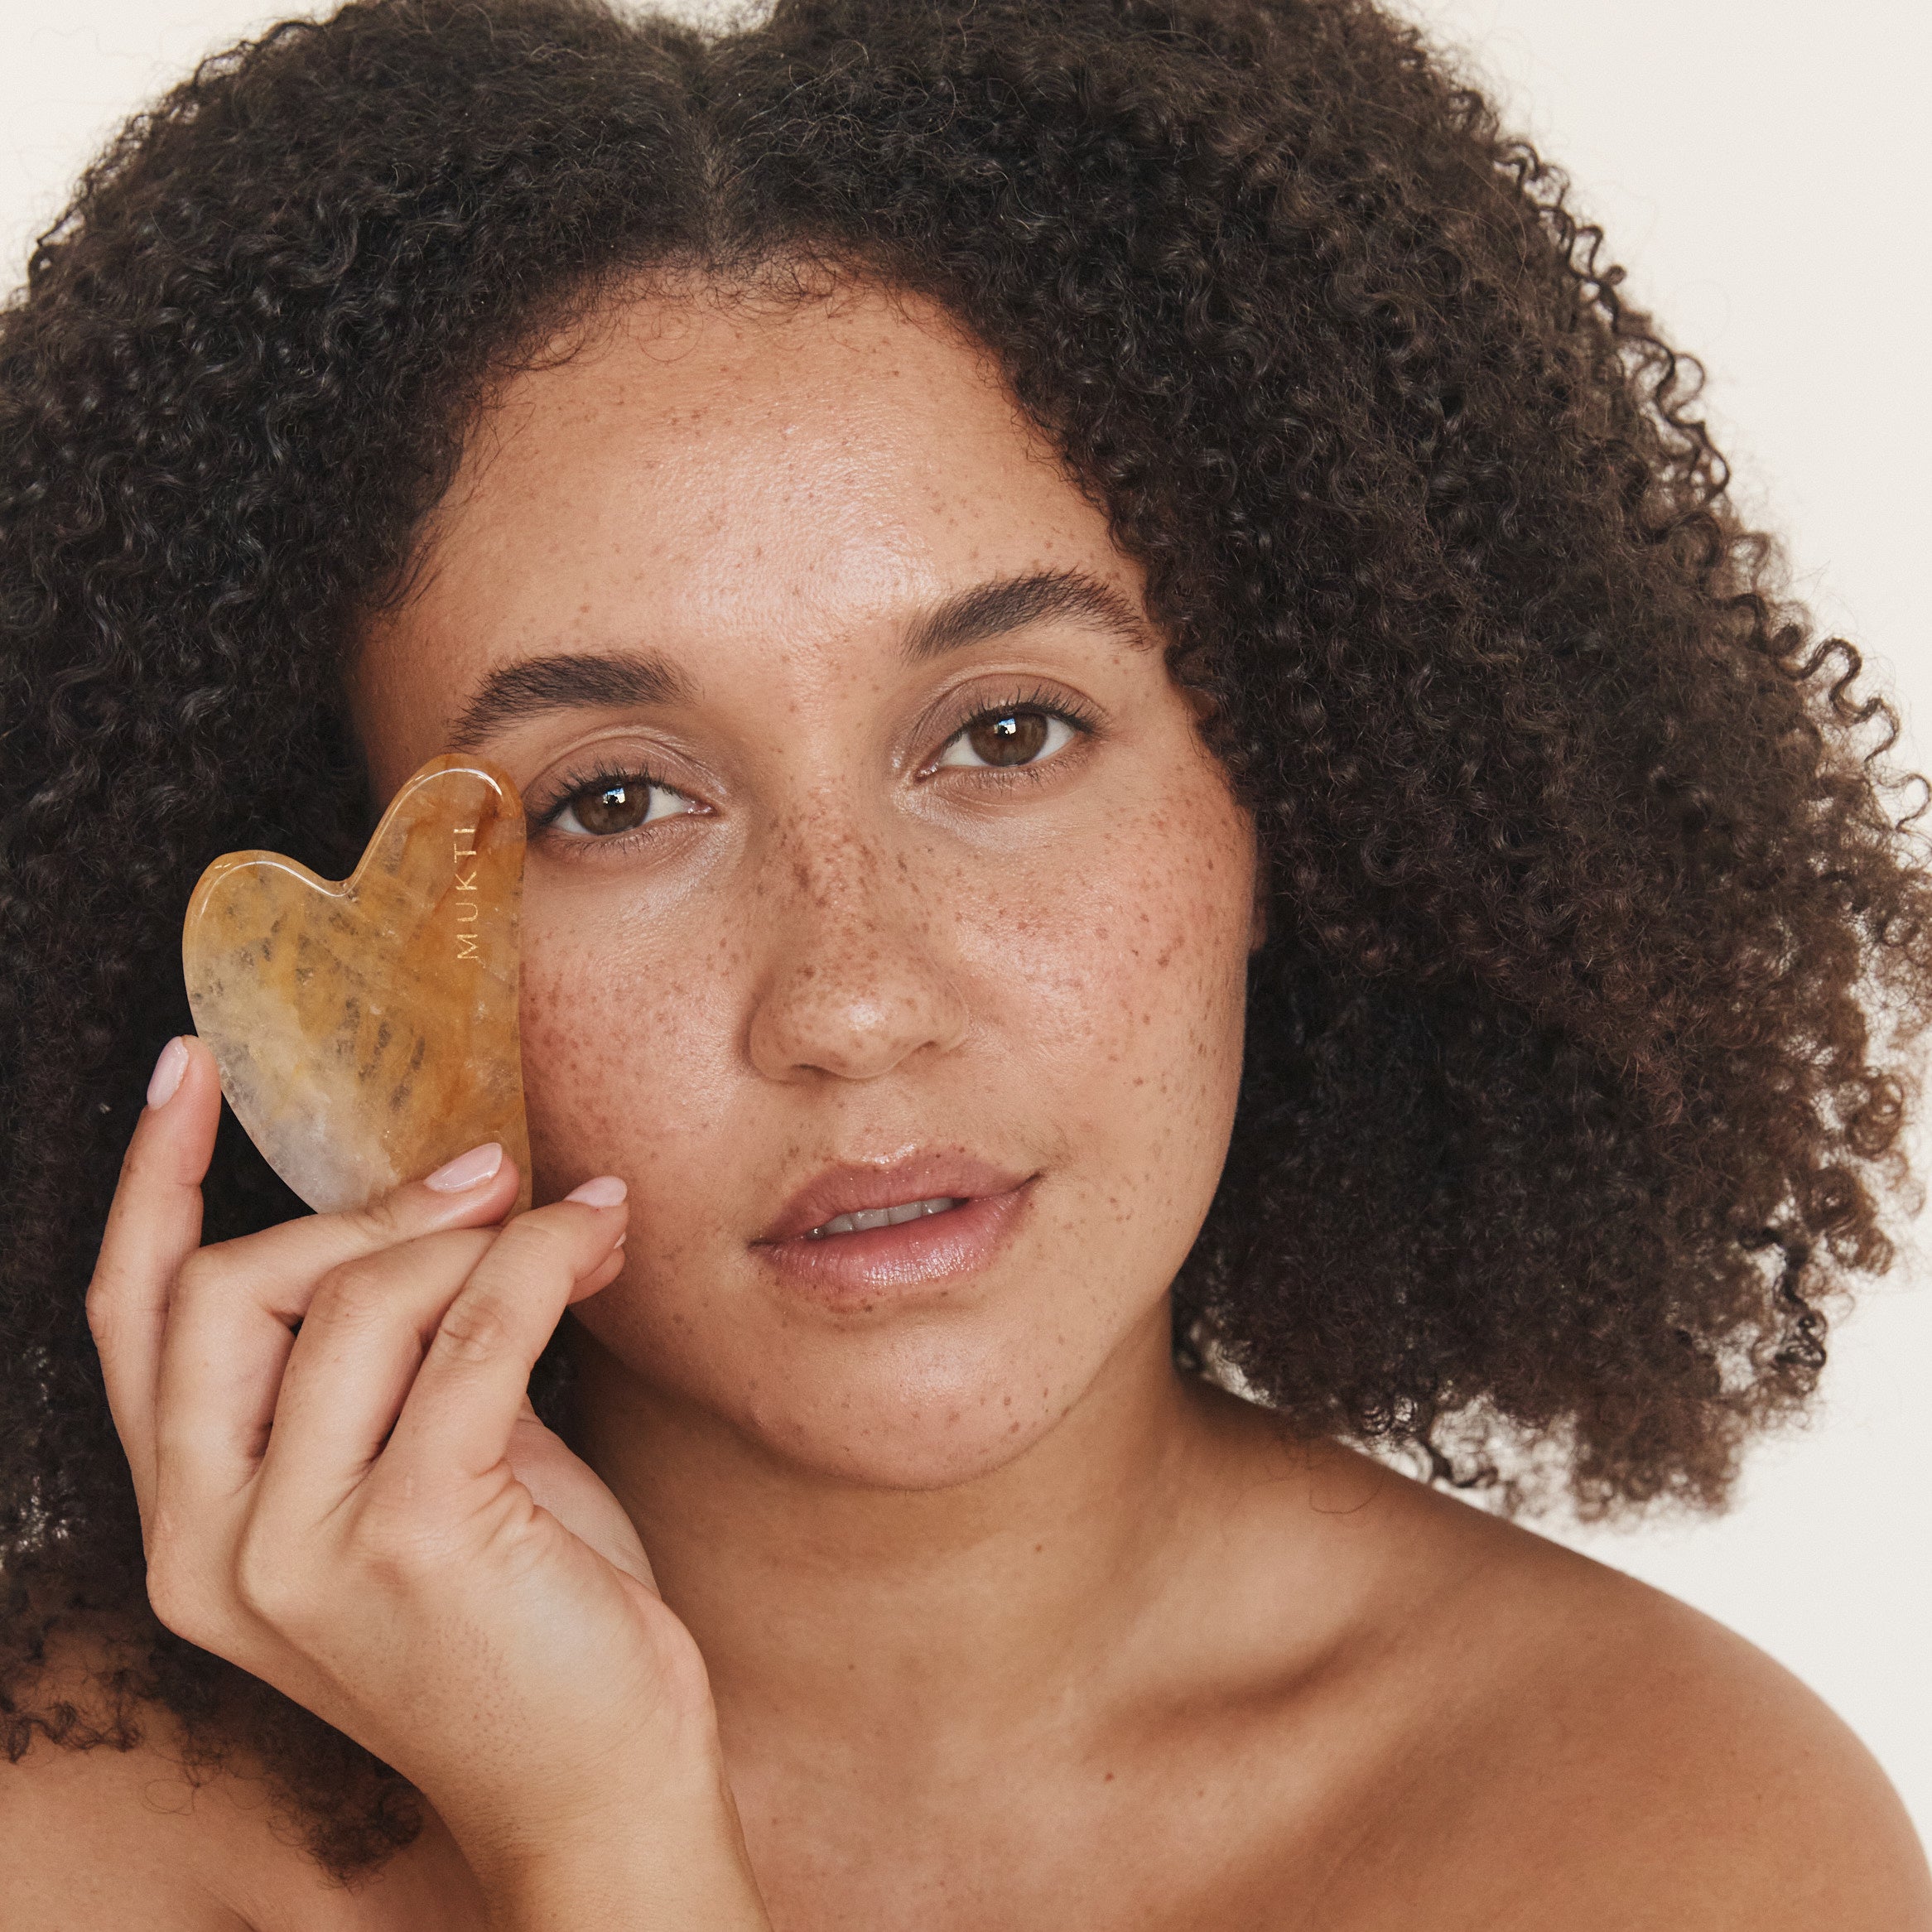
Experience the ancient art of Gua Sha with our massage tool, designed to lift, sculpt, and tone your face while reducing puffiness.
An ancient Chinese Medicine technique, Gua Sha involves gliding a smooth stone along the face, neck, and décolletage to relieve muscle tension, reduce inflammation, and enhance circulation.
The beginner-friendly shape ensures ease of use, making it the perfect tool for all.
Colours may differ due to the natural nature of the stone.